Have you ever wanted to make sushi at home but don’t own a rice cooker? I used to think a rice cooker was essential for crafting the perfect sushi rice, but after some trial and error, I discovered several easy methods for cooking rice on the stove or in an Instant Pot.
While a rice cooker can be convenient, you absolutely can make great sushi rice without this specialty appliance. The keys are using the right ratio of rice to water and incorporating a rice vinegar dressing to get that signature sweet and sour flavor.
With just a saucepan or Instant Pot, you can cook rice with the right consistency to roll or mold into nigiri. Later in this article, I’ll share my simple step-by-step instructions for how to cook, season, and use sushi rice in your homemade sushi creations, all without a rice cooker. You’ll be amazed at how easy it is to whip up this essential base for maki, temaki, and more.
Once you realize you don’t need any fancy equipment, you can start crafting incredible sushi at home anytime. Let’s get started on demystifying the art of homemade sushi rice!
The Basics of Making Sushi Rice
Here are the core steps to transform plain rice into sushi rice:
- Rinse the rice to remove excess starch
- Cook the rice using the absorption method
- Mix in a seasoned rice vinegar dressing
The keys are using the right rice to water ratio and incorporating that sweet-sour rice vinegar flavor. Follow my guide and you’ll be an expert in crafting excellent sushi rice sans rice cooker.
Rinsing the Rice
Rinsing removes surface starch that can make rice gummy rather than fluffy. Here’s how:
- Place dry rice in a fine mesh strainer and run cold water over it, rubbing grains together with your hand.
- Rinse until the water runs clear, about 5 minutes.
- Drain well before cooking.
Rinsing produces rice with the proper viscous, sticky texture for shaping sushi.
Cooking Sushi Rice on the Stovetop
Here is my foolproof method for stovetop sushi rice:
- Add rice and water to a saucepan in a 2:3 ratio. For 3 cups of rice, use 2 cups of water.
- Bring to a boil over high heat.
- Reduce heat to low, cover, and simmer for 18-20 minutes.
- Remove from heat and let steam with the lid on for 10-15 minutes.
- Fluff gently with a fork or paddle.
The absorption method allows the grains to fully absorb the water as it evaporates, resulting in tender rice. The final steam finish ensures even cooking.
Tips for Stovetop Success
- Use a heavy saucepan with a tight fitting lid to prevent steam and moisture from escaping.
- Resist lifting the lid during cooking so rice simmers properly.
- Time the cooking and steam stages carefully for perfectly done grains.
- Fluff just before adding sushi vinegar so grains separate nicely.
With the absorption technique, you can reliably cook sushi rice without a rice cooker.
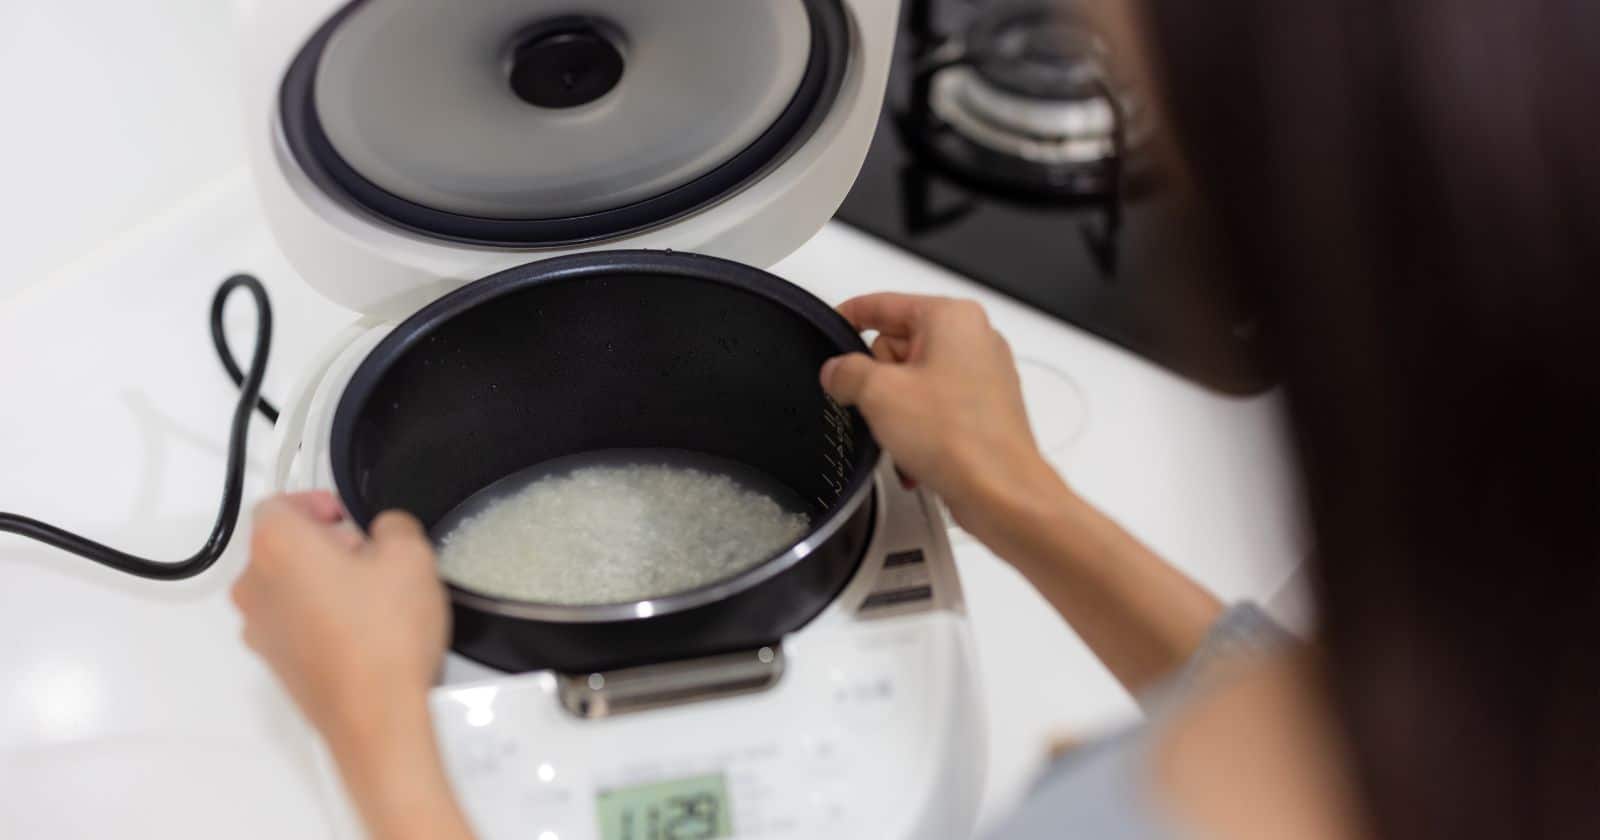
Making Sushi Rice in the Instant Pot
An Instant Pot is also handy for sushi rice with no monitoring required:
- Add rinsed rice and water to pot in a 1:1 ratio. For 3 cups of rice, add 3 cups water.
- Pressure cook on high for 4 minutes.
- Let pressure release naturally for 10 minutes.
- Quick release any remaining pressure and remove lid.
- Gently fluff rice with a fork.
The Instant Pot gives consistently fluffy results with no need to watch the pot.
Instant Pot Tips
- Select a grain or manual setting for best rice texture.
- Use the rice paddle or spoon attachment to release steam after cooking.
- Permit a 10 minute natural release before quick releasing pressure.
- Fluff rice immediately after cooking when grains are hottest.
With either stovetop or Instant Pot, perfectly cooked sushi rice is achievable without a rice cooker!
Seasoning Sushi Rice with Vinegar
To finish, the hot cooked rice must be tossed with a sweetened vinegar dressing:
- Combine rice vinegar, sugar, and salt to taste in a small pan.
- Warm over low heat until the sugar dissolves.
- Pour over freshly cooked rice in a large bowl or platter.
- Gently fold the vinegar mixture into the rice with a spatula.
- Allow rice to cool before using in sushi rolls or nigiri.
The vinegar mixture seasons the rice, adding signature sweet and sour flavor. Resist over-mixing so the grains stay intact.
Pro Tip: The cooled seasoned rice may seem too sticky. Just wet your hands before handling to keep rice from glomming on.
Frequently Asked Questions
If you’re new to DIY sushi rice, here are some common questions:
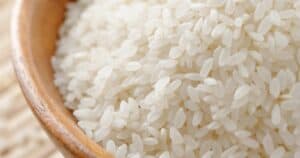
What type of rice can I use?
Look for short or medium grain Japanese white rice varieties like Koshihikari, Calrose, or Arborio. Long grain rice won’t have the right texture.
Is a sushi mat required?
No, you can shape sushi by hand without a mat. But a makisu mat makes rolling easier for beginners.
How do I fix mushy or crunchy rice?
Undercooked rice is crunchy in the middle, while overcooked rice gets mushy. Adjust cooking times and heat as needed.
How long does sushi rice last?
Freshly made rice tastes best. Leftovers will keep in the fridge up to 6 days. Reheat gently before reuse.
Ready, Set, Roll Without Rice Cooker Restrictions!
I hope this post showed you how easy making sushi rice can be without the need for any special equipment. With the right techniques, your stovetop or Instant Pot allows you to whip up deliciously seasoned rice for amazing homemade sushi. Comment below if you have any other sushi rice questions! Now get out there are start crafting maki masterpieces all your own.